
Snap Change Purse

In the beginning the idea was to make some matching wallets, checkbooks and change purses. So far, I’ve only done a tutorial for a checkbook cover, I haven’t quite figured out the wallet yet, but here’s a quick change purse tutorial (with snap closure).
What you’ll need:
Sewing Basics
Less than a fat quarter
One set of snaps
Little bit of interfacing
(I forgot to take pictures of all the steps, but this is a very easy project, you’ll get the idea.)
I started by cutting 2 fabric pieces and 2 interfacing pieces 5 inches by 9 inches. After that to make the curved flap, I folded the fabric in half long ways and free-handed a cure starting 1.5 inches from the center and going down about an inch from the top of the fabric.

After I was happy with the drawn version, I clipped the curve and unfolded the fabric.

Next I interfaced both the exterior and lining fabric pieces then lined them up with right sides together. I then snipped the second pieces curve so that it matched the already contoured fabric.
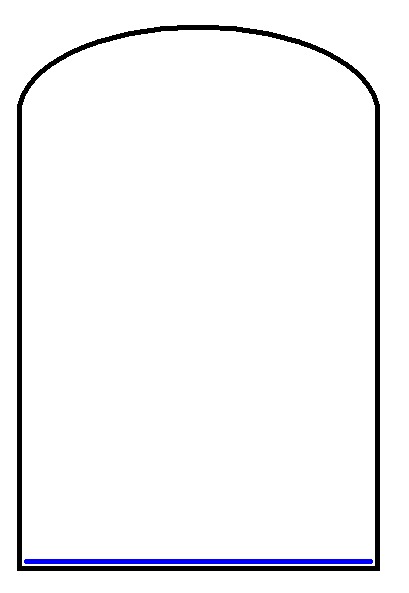
Stitch all the way around, leaving a small opening about 3 inches in width at the un-contoured short end (blue line). Clip the corners and cut small slops around the curve (red lines), for better turning

Flip right sides out and iron the corners crisp. Next run a seam along the open edge at about a 1/8 inch seam allowance to close the opening (blue line)
Fold the un-contoured side up approximately 3 inches and pin in place. Iron it to make the fold crisp, and then fold the contoured side down 1.5 inches.

To mark the snap placement, I used my seam ripper to put a small hole through the fabrics to mark the center of each snap, and then lined the snaps up that way. By doing this, it ensures the snaps come together without making the alignment wonky.

I used my trusty hammer and snap attacher to put on my snaps.

Next, run a line of stitches around the entire thing, with the pocket folded, but with the contoured edge open like this (liked pictured below, red line is this seam; blue dotted line was the last one):

When done, snap it closed and enjoy!

Here it is pictured with the matching checkbook.

No comments:
Post a Comment