
What you’ll need:
Fabric (less than 1/2yd)
Bias tape
1 snap
Interfacing (I use pellon 808- craft fusible)
Cutting Directions:
Cut 2- 15in x 9in (fabric) [main fabric]
Cut 1- 15in x 9in (interfacing)
Cut 2- 6in x 9in (fabric) [sides]
Cut 2- 6in x 9in (interfacing)
Cut 3- 9in x 9in (fabric) [pocket separators]
Cut 3- 9in x 9in (interfacing)
Sewing directions:
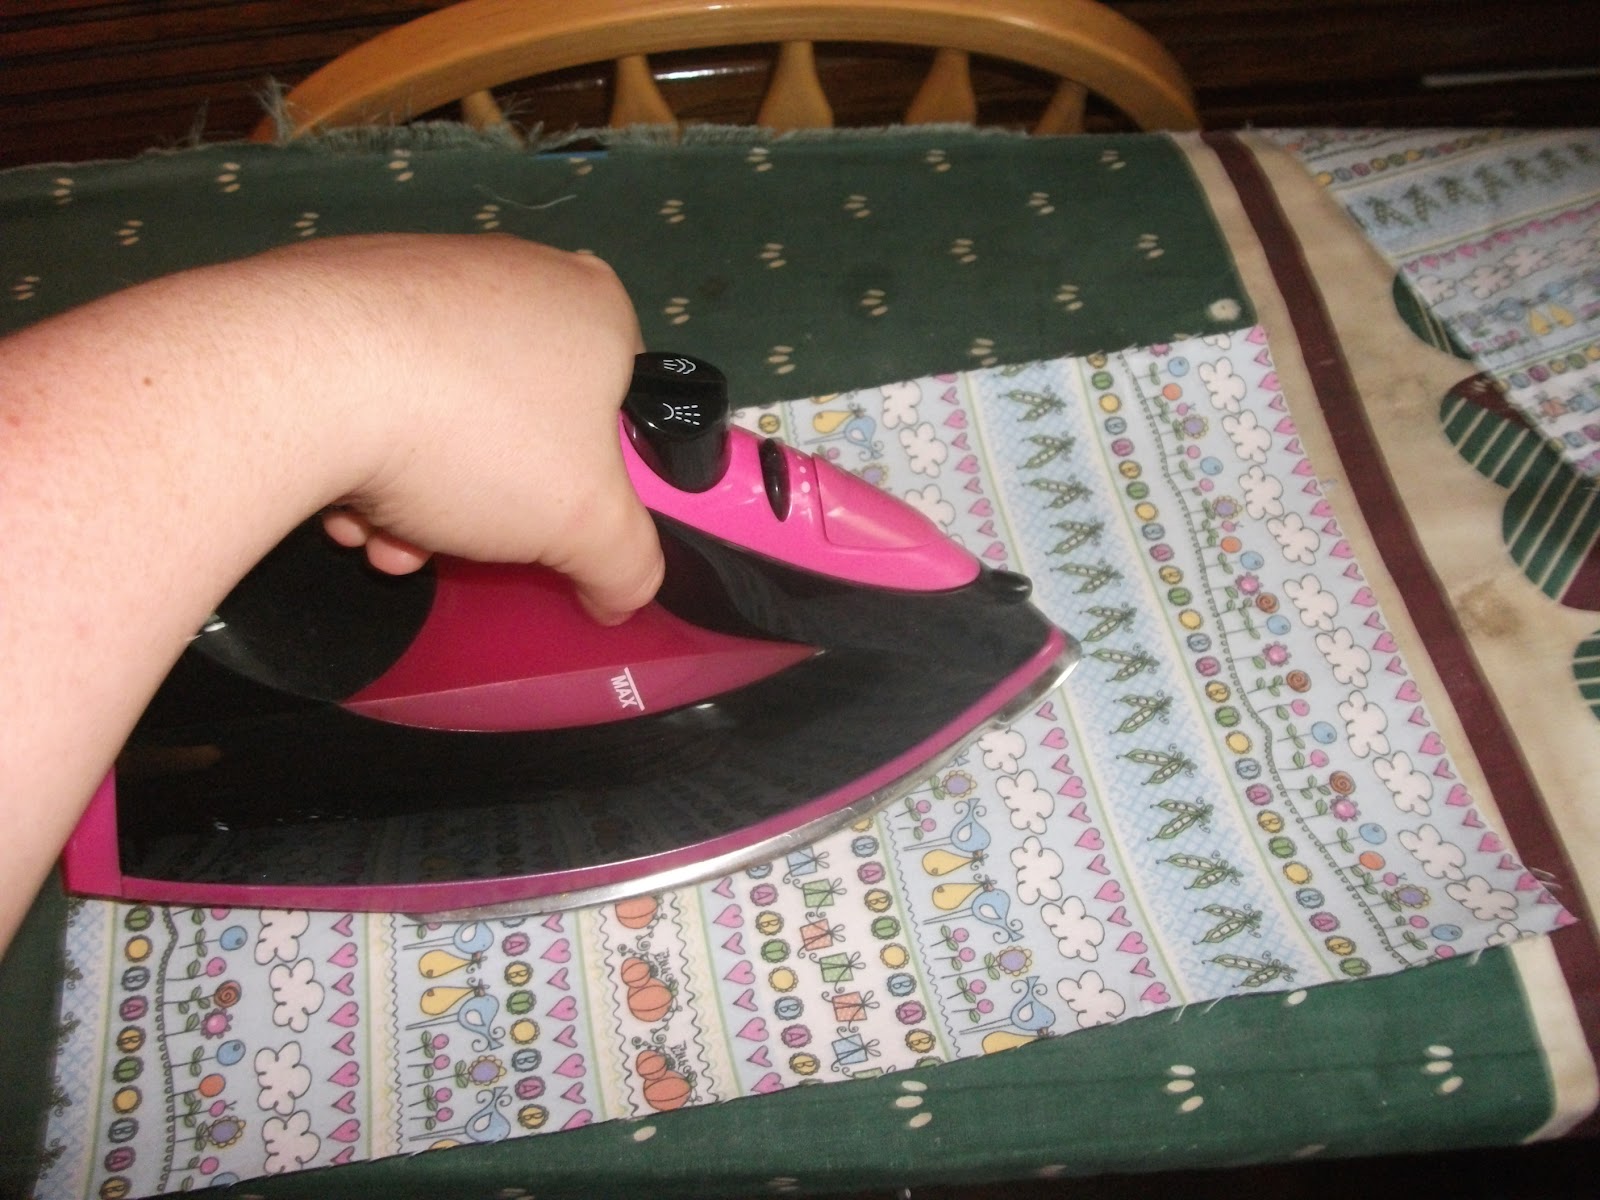
1) Start by ironing on the interfacing to each matching piece (one 15x9in piece won’t have interfacing)
(optional: to attach the other side of the 15x9in piece of fabric, I used spray adhesive on the back of the interfacing and pressed the other piece of fabric to it, - the fabric pieces should be right sides facing out with interfacing between them)


2) Round the corners of one of short ends using a curved item (like a cup) as a jig

3) with the other pieces, fold in half and stitch the end (2 pieces should be 6x4.5in[sides], 3 should be 9x4.5in [pocket separators])


6) next take each side of the side piece fold the edge toward the center, insert each other pocket piece in those folds and stitch the same way as previous step.


7) construct the other side of the pockets the same way


10) Fold the body piece so that the pockets line up to the upper half of the body piece, 5 inches from the top. Baste the other edges of the pocket down. (this will form the envelope)


12) Attach a snap and your done!
No comments:
Post a Comment